Headless Setup for a Raspberry Pi Zero-W
No keyboard, mouse, or monitor required! In this tutorial, I’ll show you how to ssh to a Raspberry Pi Zero W without ever using a keyboard, mouse, or monitor on the device itself. We’ll prepare the device to connect to your wireless network (even with a password) when it’s turned on for the first time – this process is known as “headless setup”.
When you buy a Raspberry Pi, the cost of all the little accessories you might need (like a way to connect a keyboard, mouse, and monitor to the micro-USB and micro-HDMI ports) can add up quickly. But do you really need all that? You don’t! It isn’t too hard to configure a Raspberry Pi Zero W to connect to a wireless network automatically when it boots, and then you can interact with it via SSH without ever connecting a monitor, keyboard, or mouse! (You’ll need another computer, of course.) To accomplish this, we’ll modify a couple things on the SD card after we’ve written the image but before putting it in the Pi.
- Prepare your SD card with Raspberry Pi OS (AKA Raspbian), as described here.
- Open the “boot” partition of the SD card. This should show up as a removable drive when you insert the card – you might need to remove and re-insert the SD card after writing the image.
-
On the boot partition, create a text file named
wpa_supplicant.conf(no.txt!) with the following contents. This will configure the wifi when the device boots. (Change the ssid and psk to your network name and password.)country=US ctrl_interface=DIR=/var/run/wpa_supplicant GROUP=netdev update_config=1 network={ ssid="MyWiFiNetwork" psk="aVeryStrongPassword" key_mgmt=WPA-PSK }Warning!
The Pi Zero W doesn't support 5GHz networks. You'll need to use a 2.4GHz network with your Pi.
- Even if the Pi connects to wifi automatically, ssh access will be disabled by
default. To change this, make an empty text file named
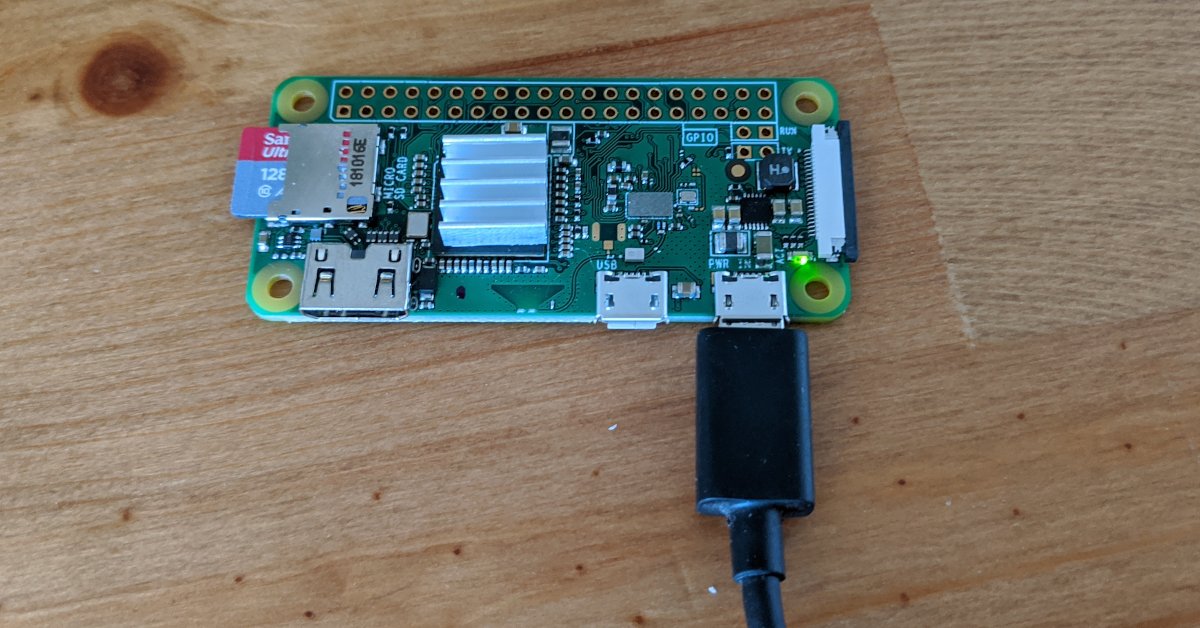
ssh(no file extension!) on the boot partition. As long as this file exists, ssh will be enabled when the device boots for the first time. - Now we’re ready! Put the SD card in the Pi, plug in the Pi, and give it a minute to boot up and connect to the wifi. This is where the magic happens, where the Pi boots, connects to your network, and enables SSH access without any interaction. At this point, we’re basically done with setup, but we still need to connect to the Pi.
- Find the IP address of the Pi on your local network. There are a variety of
ways to do this depending on your network configuration. Read the instructions
here
and pick a method that works for you. The Pi’s IP will probably be something
like
192.168.0.10, but it could be different. - SSH to the Pi.
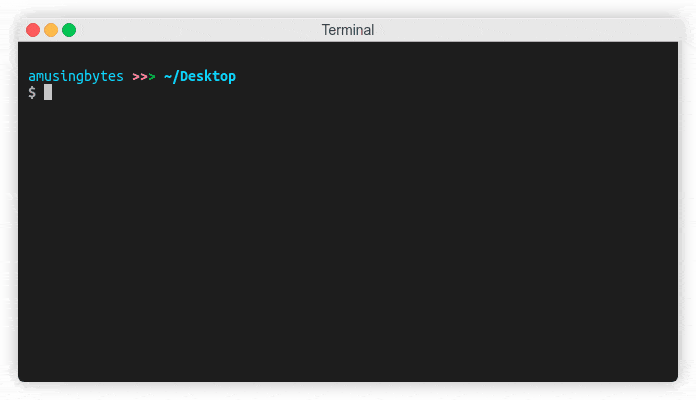
- If you’re on macOS or Linux, the ssh tool should already be installed. Open
the Terminal app (in the Utilities folder in Applications) and type
ssh
pi@192.168.x.x
(using the IP you found in the previous step).piis the username andraspberryis the default password. - If you’re on Windows, you’ll need to install an SSH tool. I recommend
PuTTY.
(You probably want the 64-bit MSI installer version from that website.)
Enter the IP you found in the previous step and connect using
pias the username andraspberryas the password.
- If you’re on macOS or Linux, the ssh tool should already be installed. Open
the Terminal app (in the Utilities folder in Applications) and type
Done! Now that you’re connected to the Pi via SSH, you can run any commands
you want to. You might start with sudo apt-get update && sudo apt-get upgrade
to make sure the system’s up to date. From there, you can play around as much as
you want in the Raspbian Linux environment (based on Debian/Ubuntu), or you can
install any additional software needed for your project.
I hope this helped you get started with your Raspberry Pi, and maybe saved you a few dollars on accessories you don’t need to buy!
This is part 1 of a 2-part series exploring the Raspberry-Pi Zero.
- Part 1: Headless Setup for a Raspberry Pi Zero-W
- Part 2: Can You VNC to a Desktop on a Headless Raspberry Pi?
About the Author

👋 Hi, I'm Mike! I'm a husband, I'm a father, and I'm a staff software engineer at Strava. I use Ubuntu Linux daily at work and at home. And I enjoy writing about Linux, open source, programming, 3D printing, tech, and other random topics. I'd love to have you follow me on X or LinkedIn to show your support and see when I write new content!
I run this blog in my spare time. There's no need to pay to access any of the content on this site, but if you find my content useful and would like to show your support, buying me a coffee is a small gesture to let me know what you like and encourage me to write more great content!
Related Posts
- Can You VNC to a Desktop on a Headless Raspberry Pi? 22 Jun 2020
- Review: Orange Pi Zero 03 Jul 2020
- A Bookmark to Temporarily Disable your Pi-hole 26 Jun 2020