What are Dev Containers, What are GitHub Codespaces, and Why Should You Care? A Practical Intro
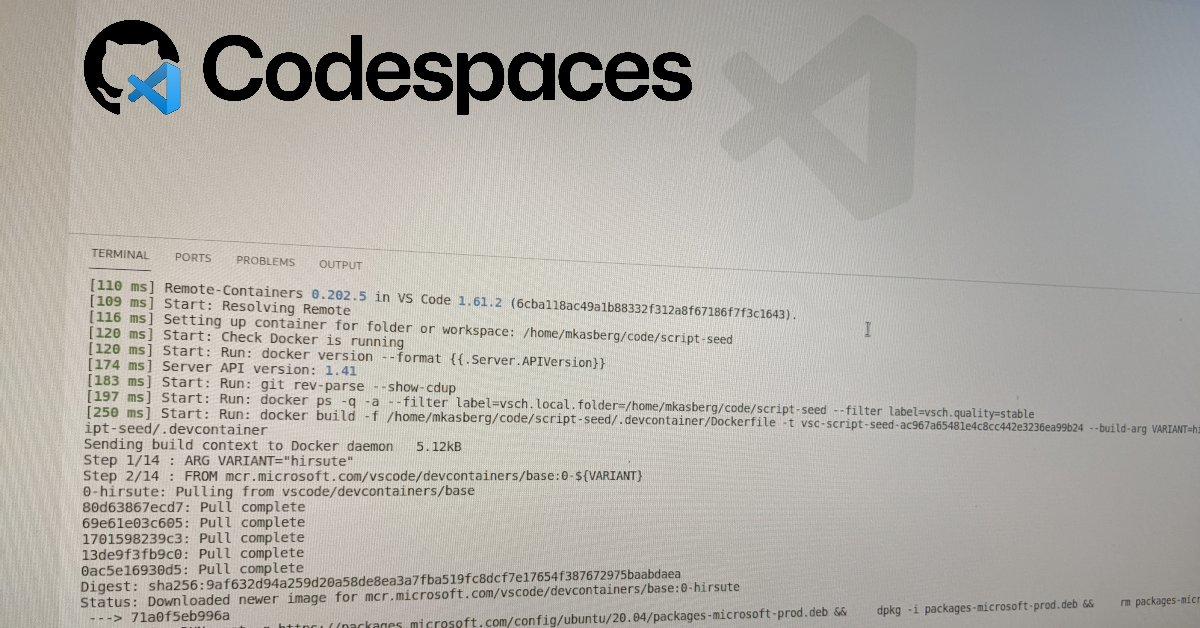
GitHub Codespaces made waves when GitHub introduced the feature several months ago. Codespaces promises a lot. It solves configuration headaches, it creates disposable environments, it can provide better performance than the laptop you’re working on, and it can better enable remote collaboration. I was interested to dip my toes in the water and see what it’s like to work with Codespaces, but that can be a little tricky to do if you don’t have access to a GitHub org that’s paying for Codespaces. Fortunately, as it turns out, there’s a very accessible alternative that’s free and easy to try, and it’s a great way to get a taste of what the Codespaces experience might be like.
VS Code has a feature called Dev
Containers, and it works
almost exactly like GitHub Codespaces, but it runs locally in Docker rather than in
the cloud. Of course, this means you don’t get the performance benefits that are
possible with Codespaces, but most of the other benefits still apply. In
particular, a dev container provides a disposable development environment with
all the right tools ready to go. In fact, GitHub Codespaces use the
same
devcontainer.json file a local dev container would use – a Codespace is really
just a dev container in the cloud. More recently,
IntelliJ and
other IDEs have also added dev container support.
What is a Dev Container?
To really understand dev containers (or Codespaces) and the benefits they provide, I think it’s important to understand the problem they’re trying to solve. Just for fun, I maintain a small open source project called Script Seed. It isn’t anything terribly exciting – it’s just a collection of sample “Hello World” scripts in various scripting languages. But because that project uses 12+ different scripting languages, it really shows the usefulness of a dev container. I don’t have all 12+ languages from that project installed on my laptop, so I use Docker to test it.
Even before dev containers were popular, I included a Dockerfile and a Makefile in Script Seed. The Dockerfile was an Ubuntu container that had all the supported scripting languages installed, so you could test any script in the project. And the Makefile provided a user-friendly syntax for running the container. This Dockerfile was, essentially, a dev container. It provided anyone who wanted to develop Script Seed a pre-configured, disposable workspace inside the container with all the tools needed to develop and run the project. A true VS Code dev container takes that same principle to the next level by adding some conventions, improving the experience, and integrating tightly with the IDE.
Setting up a VS Code Dev Container (or Codespace)
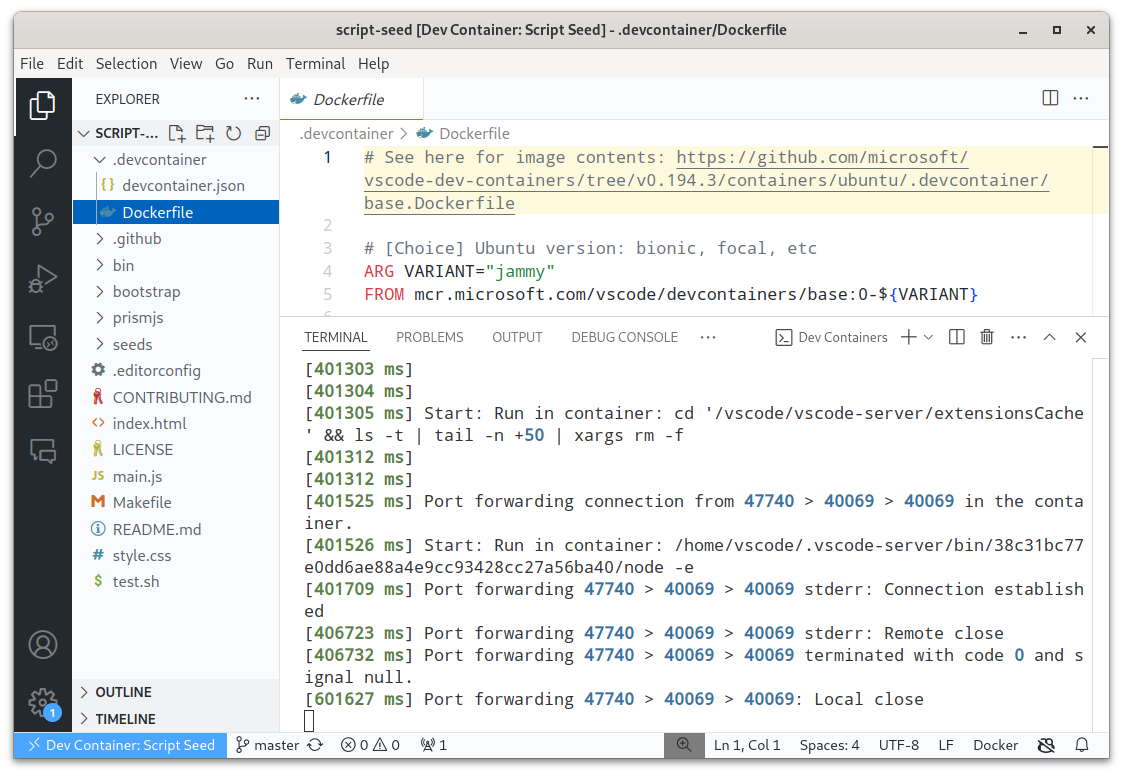
Recently, I took that same project (Script Seed) and migrated my old homegrown Dockerfile to a true VS Code dev container. In setting up this small example project with a dev container, I learned some things along the way that I’ll be able to apply when setting up larger projects with dev containers or Codespaces. I think a small project like this that’s easy to understand provides a perfect playground to learn about dev containers. Here’s the PR where I added the dev container to Script Seed. I’ll walk you through what I did, which will be great to see if you want to learn how to set up your own dev container or Codespace on your own project.
In the first
commit,
I add a Dockerfile and devcontainer.json to the to the .devcontainer
folder and I add a bin/server script. The bin/server script is just a helper
copied from my old docker entrypoint, so let’s focus on the other two files. The
best way to begin setting up a dev container is to let VS Code generate the
files for you by selecting Remote-Containers: Add Development Container
Configuration Files… from the command palette, as documented in Create a
development
container. If
there’s already a Dockerfile in your project, you’ll be prompted to start from
that Dockerfile or from a predefined configuration definition. Although I first
tried to use my existing Dockerfile, I went back and did the process again using
a predefined container, and had a better first-time experience with the
predefined container. The VS Code team has done a really nice job setting up
these predefined containers, so I’d recommend trying one of them so you can
understand all the benefits they include before trying to build your own
container. In particular, these dev containers provide a non-root user, provide
a nice Bash prompt, and install many tools you might want.
Starting from the predefined Ubuntu
dev container,
I installed all the languages I needed (as I had in my other Dockerfile) and was
ready to go! I made a couple light customizations to devcontainer.json
including naming my container and forwarding a port for the HTTP server to run
on.
In the second
commit
in my PR, I update my old Makefile to use the new dev container. Primarily, I
want to use make test to run tests in CI (with GitHub Actions), but this is
also a nice pattern to allow anyone who isn’t using VS Code to interact with the
dev container. Finally, in the third
commit,
I update my documentation to describe the new dev container.
Once the dev container is set up, using it is easy. Just open the project in VS
Code with the Remote
Containers
extension installed, and it will prompt you to re-open the project inside the
container. (You can try this yourself by cloning Script
Seed if you want.) The first run will
be a little slow as it pulls and builds the Docker container. Subsequent starts
will be faster as long as the Docker image doesn’t need to be rebuilt, and there
are some advanced options I haven’t played with yet to improve startup time by
pre-building containers. Inside the IDE, you’ll be able to interact with tools
installed in the container, including opening a terminal in the IDE that will
get you to a shell in the container. You can specify extensions to install in
your devcontainer.json file and those extensions will be automatically
installed when you open the container in the IDE. You can do things like run and
debug code inside the container using tools from the IDE. If your project
includes a web server, you can run it inside the container (in my case, the
bin/server script) and open the site in a browser on the host computer via a
forwarded port.
Customization
One thing you might be wondering about is customization. If you’re working primarily inside the container, how do you interact with your usual tools like git, ssh, or vim, and how do you customize those tools if the config for the container is shared? Fortunately, VS Code has already thought about this and has some good solutions for dev containers. For example, there’s a mechanism to share Git credentials with the container either with the git credentials helper or with SSH agent forwarding. VS Code Dev Containers also provides a way to customize the container with your own dotfiles. I haven’t played with this too much yet, but I’ve started modifying my own dotfiles to work better with this kind of setup. Perhaps I’ll write more about that experience later.
In summary, dev containers provide a ton of value and are relatively easy to set up – particularly if you’re already familiar with Docker. Normally, a lot of the friction you experience when you open a new project for the first time is getting your development environment set up. You might need several languages, compilers, and tools installed on your system, and you might need new extensions installed in your IDE. That could take hours to set up, and using a dev container removes a lot of that friction and provides a great way to manage a consistent, disposable development environment that’s more inviting for new users. And GitHub Codespaces take it to the next level by hosting that environment in the cloud.
About the Author

👋 Hi, I'm Mike! I'm a husband, I'm a father, and I'm a staff software engineer at Strava. I use Ubuntu Linux daily at work and at home. And I enjoy writing about Linux, open source, programming, 3D printing, tech, and other random topics. I'd love to have you follow me on X or LinkedIn to show your support and see when I write new content!
I run this blog in my spare time. There's no need to pay to access any of the content on this site, but if you find my content useful and would like to show your support, buying me a coffee is a small gesture to let me know what you like and encourage me to write more great content!
Related Posts
- So You Want to Learn Docker 11 Feb 2017
- Why CI? 19 Jun 2017
- Make Your Source Code Developer-Friendly 19 Aug 2018