How to Install Custom Firmware on Your Xiaomi M365 E-Scooter
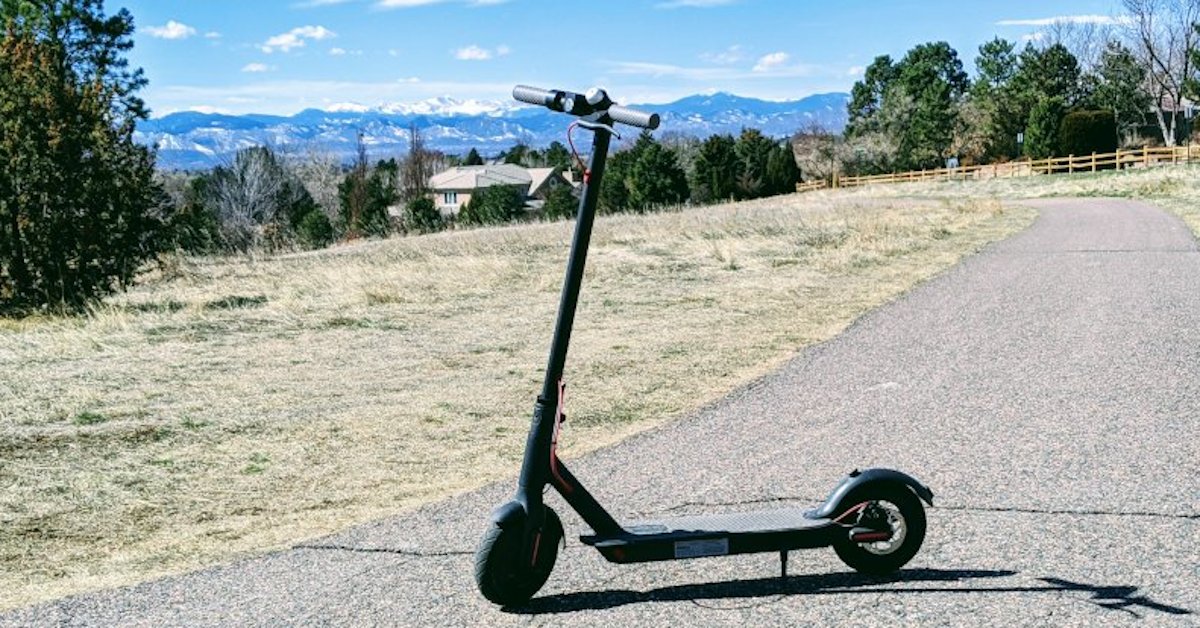
The Xiaomi m365 (also known as the Xiaomi Mi) is one of the most highly-rated electric scooters available. If you’ve ever rented a Lyft or a Bird scooter, the design will look very familiar. This electric scooter is fun to ride and great for commuting! But one of the best things about the m365 scooter is that you can modify the firmware to suit your own preferences! It’s easy to do and should only take 20 or 30 minutes. Let’s get started!
Modify your firmware at your own risk!
These instructions worked for me, but I can't guarantee they'll work for you. There are inherent risks associated with this procedure and I'm not responsible for anything that goes wrong.
Part 1: Ensure your scooter is compatible with modified firmware
This firmware mod will work on any Xiaomi m365 e-scooter with 2 fuses. Most m365 scooters manufactured after March 2017 do have 2 fuses. To verify that your scooter has 2 fuses:
-
Find the serial number of your scooter. It’s located on a sticker on the side of the base and will look like the one in the picture below. There are two parts separated by a
/. The first part describes the country and the color. The second part is a unique serial number.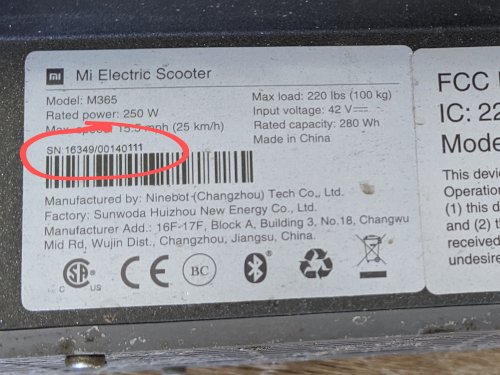
-
Use the first part of the number to find some info about your scooter in the chart below:
Serial No. Country Color 2 Fuses? 13678 China White Check Battery Date 13679 China Black Check Serial 16132 Europe White Check Battery Date 16133 Europe Black Yes 16349 US Black Yes -
If you have the European black version or the US version, you should have 2 fuses. Skip ahead to part 2. If you have the Chinese black version, and the second part of your serial number is greater than
00035000, you should have 2 fuses – skip ahead to part 2. If you have a white model continue here to check the battery date. -
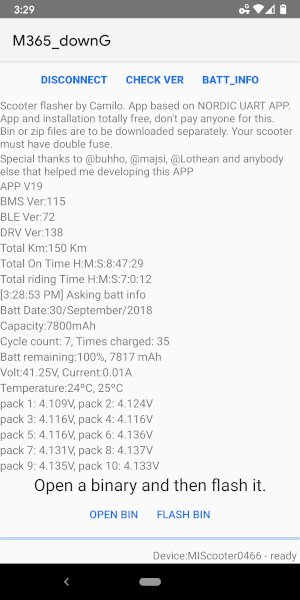
To check the battery date of manufacture, you need to connect your scooter to the Mi Home app (iOS/Android). After connecting your scooter to the app, look at Battery Info and check the Production Date. If the battery production date is later than March 2017, you should have 2 fuses, and can continue with the mod.
If your scooter has 2 fuses, it should be safe to modify the firmware. If the scooter is an older model with a single fuse, it is risky to continue because the firmware mod is likely to destroy the fuse.
Part 2: Build your custom firmware
GitHub user BotoX has developed a tool to patch custom parameters into the m365 scooter firmware. The tool is open source, developed in Python, and you can see the source code on GitHub if you’re interested. Really though, the source code isn’t what we’re interested in. We’re simply going to use the software on his website to patch a custom firmware.
- Open https://m365.botox.bz on your phone.
- Select the options for your own custom firmware. You can get started with some defaults using the buttons at the top. The website explains most of the settings well, but I’ll add some detail for a few important settings below.
- When you’re done, click
Patch!and save the zip to your phone.
My Settings
I’ll share the settings I prefer below. Use these as suggestions if you’re not sure what to customize.
Base Version
There’s a strong consensus that 1.3.8 is the best version to use, so I used
that as my base version.
KERS min speed
I didn’t change the KERS min speed because I actually like the automatic braking, and I’ve come to expect it.
Maximum speed in normal mode
I bumped the maximum speed in normal mode up to 30. This is in km/h, so
that’s roughly 18.5 mph. I would have set it faster, but other components
prevent the scooter from going much faster, so I’ve found 30 to be the highest
you can go here to keep a smooth ride. I didn’t patch the eco mode speed (which
I rarely use anyway).
Motor start speed
I set the motor start speed to 3 instead of 5. This prevents those
situations where you need to kick more to get the motor to start.
Motor power constant
I also bumped the motor power constant down to the DYoC setting of 40165
(remember lower is more power). This seemed like a good compromise to get a
little extra power (i.e. acceleration) but not put too much extra wear on the
motor. (I don’t want it to break too quickly!)
I left the rest of the settings alone – most of them are unnecessary to change or only needed for advanced/unusual customization. But feel free to experiment more if you want! Here’s another blogger’s thoughts. This tool lets you customize the firmware that’s right for you, so you don’t have to use my settings if you don’t want to.
Part 3: Install the firmware to the scooter
Finally, we’re ready to install our firmware. The best way is to use the m365
DownG Android
app. First, connect the app to the scooter. After you’re connected, choose Open
Bin to open the zipped firmware you downloaded from the BotoX website. Finally,
hit Flash Bin to send the firmware to the scooter. If you don’t have an
Android device, see if you can find a friend who will let you use theirs.
Apparently there’s a new, similar app on iOS, but I’m not sure how well it
works.
Now you’re done! Take that scooter out for a test ride! And let me know what you think @mike_kasberg. Of course, credit is also due to BotoX, who developed the firmware tool, and CamiAlfa, who developed the flashing app. Thanks for reading, have fun, and stay safe!
About the Author

👋 Hi, I'm Mike! I'm a husband, I'm a father, and I'm a staff software engineer at Strava. I use Ubuntu Linux daily at work and at home. And I enjoy writing about Linux, open source, programming, 3D printing, tech, and other random topics. I'd love to have you follow me on X or LinkedIn to show your support and see when I write new content!
I run this blog in my spare time. There's no need to pay to access any of the content on this site, but if you find my content useful and would like to show your support, buying me a coffee is a small gesture to let me know what you like and encourage me to write more great content!